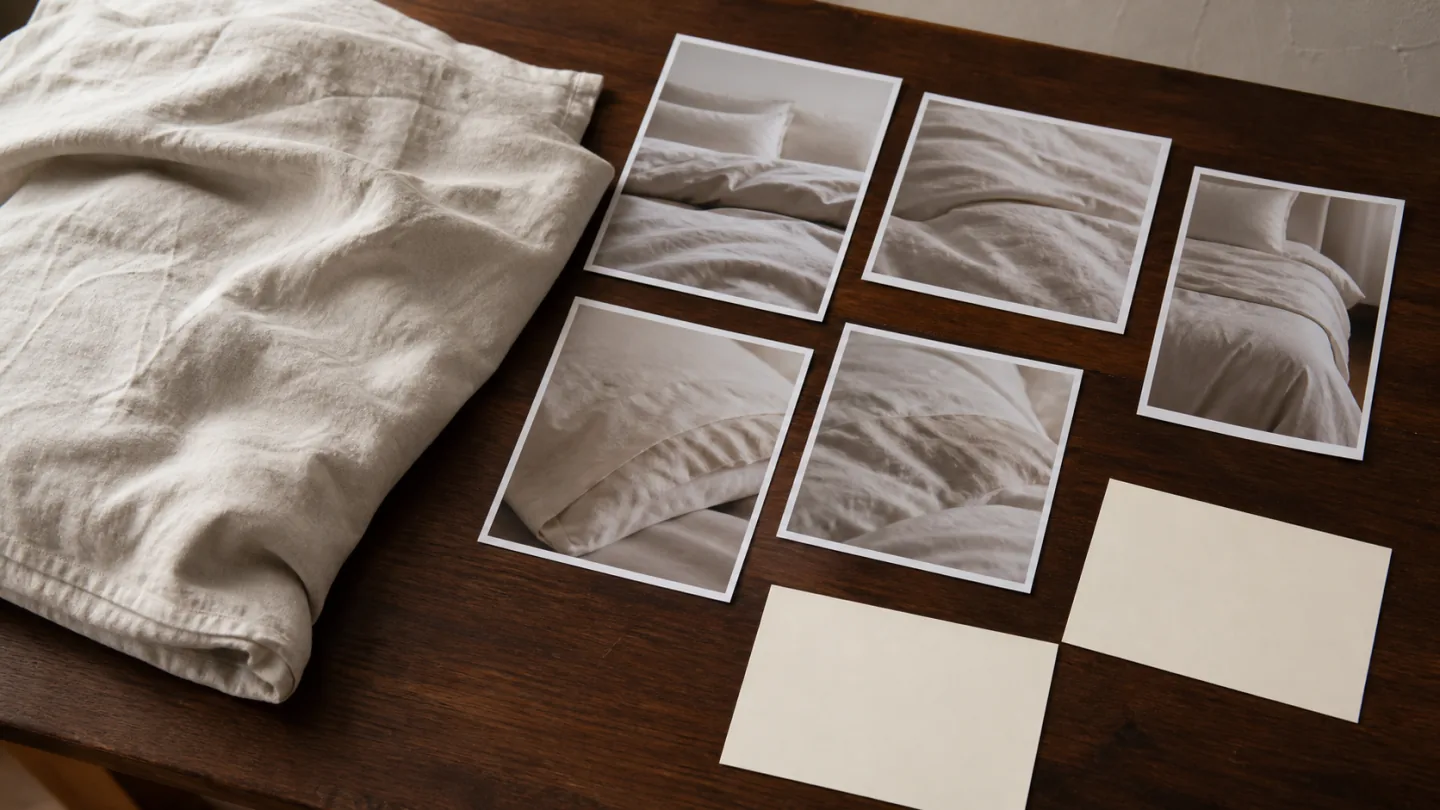

The earliest available sample is not always the right sample to photograph. A pre-production item may help establish composition and asset needs, while a final approved sample gives a stronger basis for images that identify the product customers will receive.
For bedding, home textiles, fabrics and towels, small changes can be visible: a revised border, adjusted print position, different label, changed closure or new package. Deciding the sample stage before booking the work reduces the chance that a polished image becomes unusable later.
Define the sample stage in operational terms
Do not rely on labels such as early, salesman, golden or final unless every party uses them the same way. Describe what has been approved and what can still change: substrate, color, dimensions, pattern placement, stitching, fill, trims, labels, included pieces and packaging.
Give the physical sample its own identifier and connect it to a dated specification or change record. The photography studio can record the item it receives, but it cannot decide whether that item is the final commercial standard. That authority must be named in the buyer-supplier workflow.
Choose the stage according to the image's job
Images that identify a sale SKU, show included contents or support detailed product claims need the most representative sample available. Images used only to test a background, camera angle or internal creative direction can sometimes be made earlier because they are not yet being treated as final product evidence.
If a pre-production sample must be used for customer-facing assets, list each unresolved visible feature and set a later verification gate. Do not assume retouching will safely solve every change. Rebuilding a print, seam, quilting pattern or package in post-production can make the image less traceable to the physical product.
| Planned use | Preferred basis | Required control |
|---|---|---|
| Internal composition test | Available representative sample | Mark as a test and keep it out of final delivery folders |
| Range mood board | Representative sample or disclosed concept | Separate direction from factual product images |
| SKU identification image | Final approved sample | Match identity, color and included components |
| Construction close-up | Final approved sample | Confirm the photographed construction is unchanged |
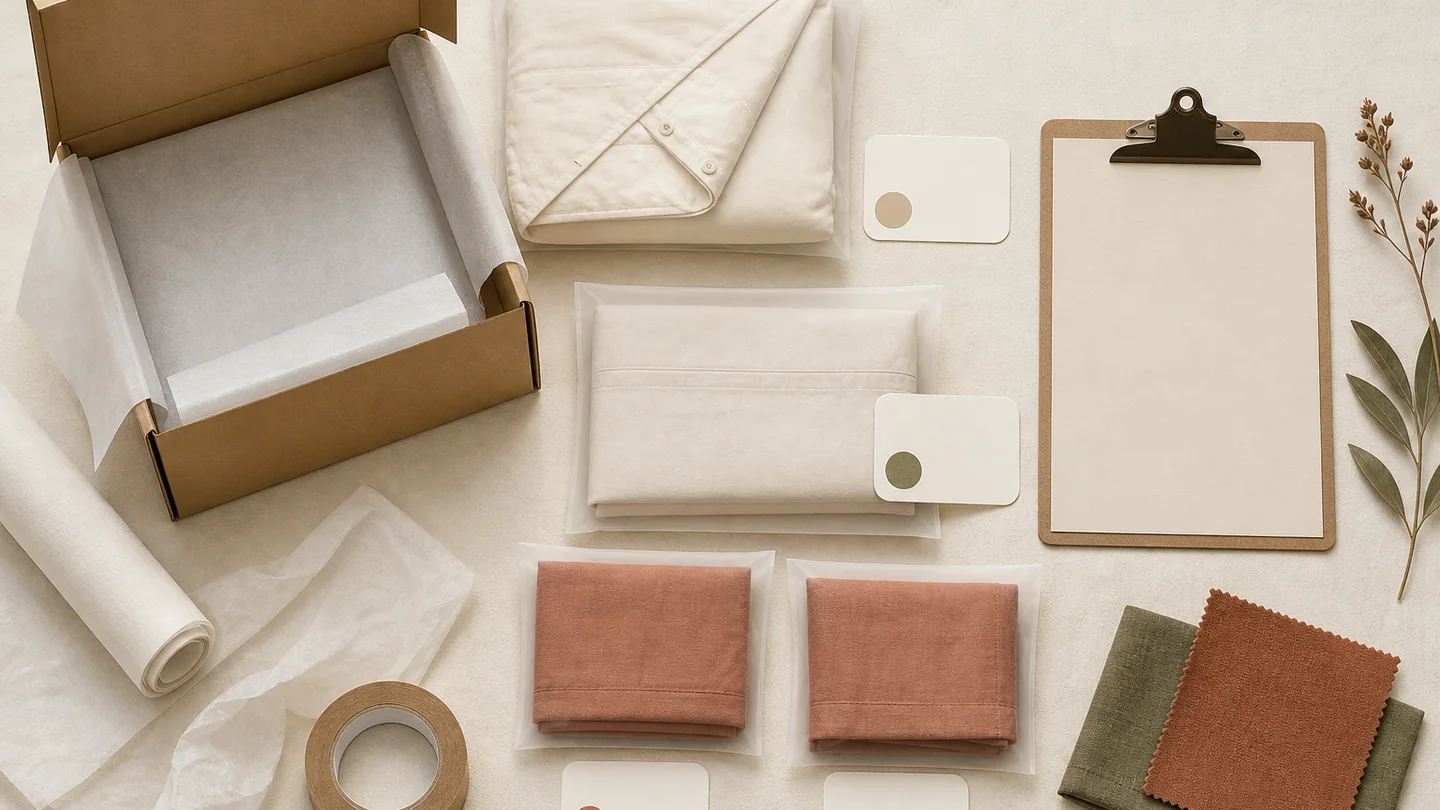
| Packaging sequence | Final intended packaging | Check every layer, label and included item |
Create a difference register before the shoot
Ask the supplier and product owner to complete a short register for the sample. Include the feature, current state, intended final state, whether it will appear in a planned view, who will confirm it and the decision date. An empty register should mean no known difference, not that nobody checked.
Use the register to modify the shot list. A view may proceed, be limited to internal review, avoid the unresolved area or wait for a final sample. This is more reliable than giving the studio a general instruction to make the product look final without an approved reference.
- Give the sample a unique ID and stage description.
- List every known visible and packaging difference.
- Mark which planned images expose each difference.
- Name the buyer or supplier approver for each open item.
- Set the final-goods comparison point before publication.
Separate photography approval from product approval
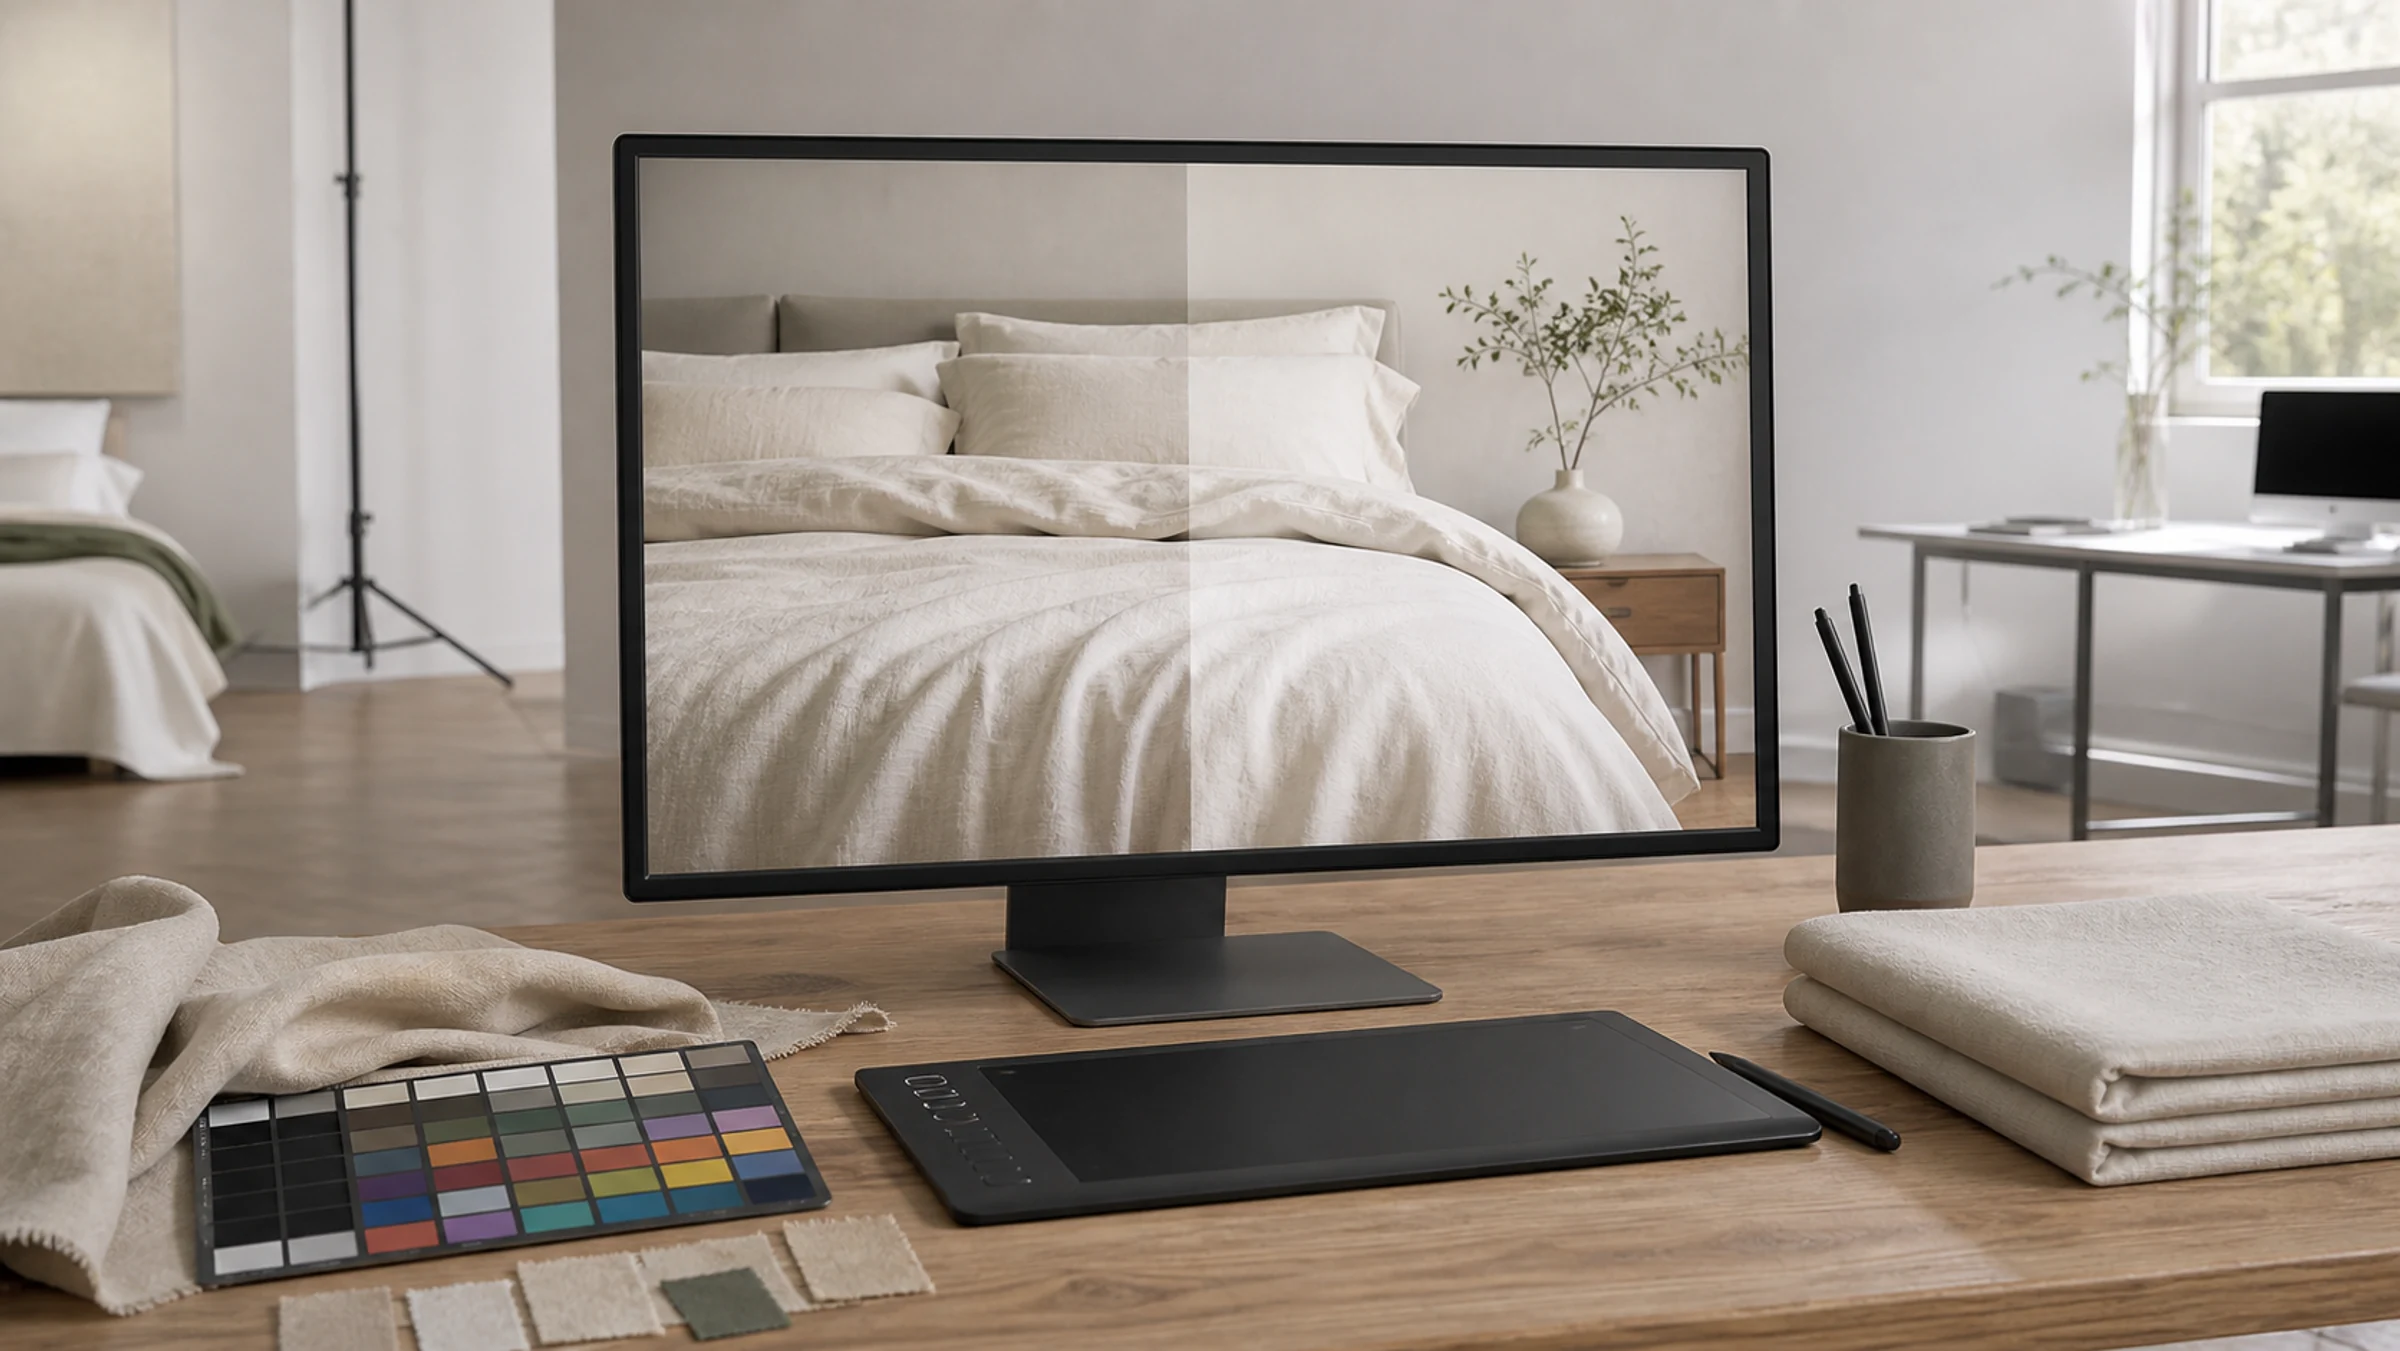
During test-shot review, assess composition, product presentation, crop and the requested visual direction. If the sample itself contains an unresolved feature, annotate it rather than accepting it by implication. The reviewer should say whether the image direction is approved and whether the product shown is approved for that use.
A studio arrival photograph, test shot or retouched file is not a production inspection report. It cannot establish hidden construction, material composition, measurements or performance. Keep specifications and quality criteria in the product process, with photography referencing only approved information supplied for the image task.
Plan the final verification and update path
When final goods or a final sample become available, compare the areas that mattered to the shot list. Record whether there is no visible change, a change outside the frame, a correctable presentation difference or a change that makes the image inaccurate. Keep the comparison evidence with the image version record.
Choose the response deliberately: release the images, update selected files, reshoot affected views or hold the asset. The right choice depends on the difference and intended use. There is no responsible rule that an early image is automatically safe merely because the overall product still looks similar.