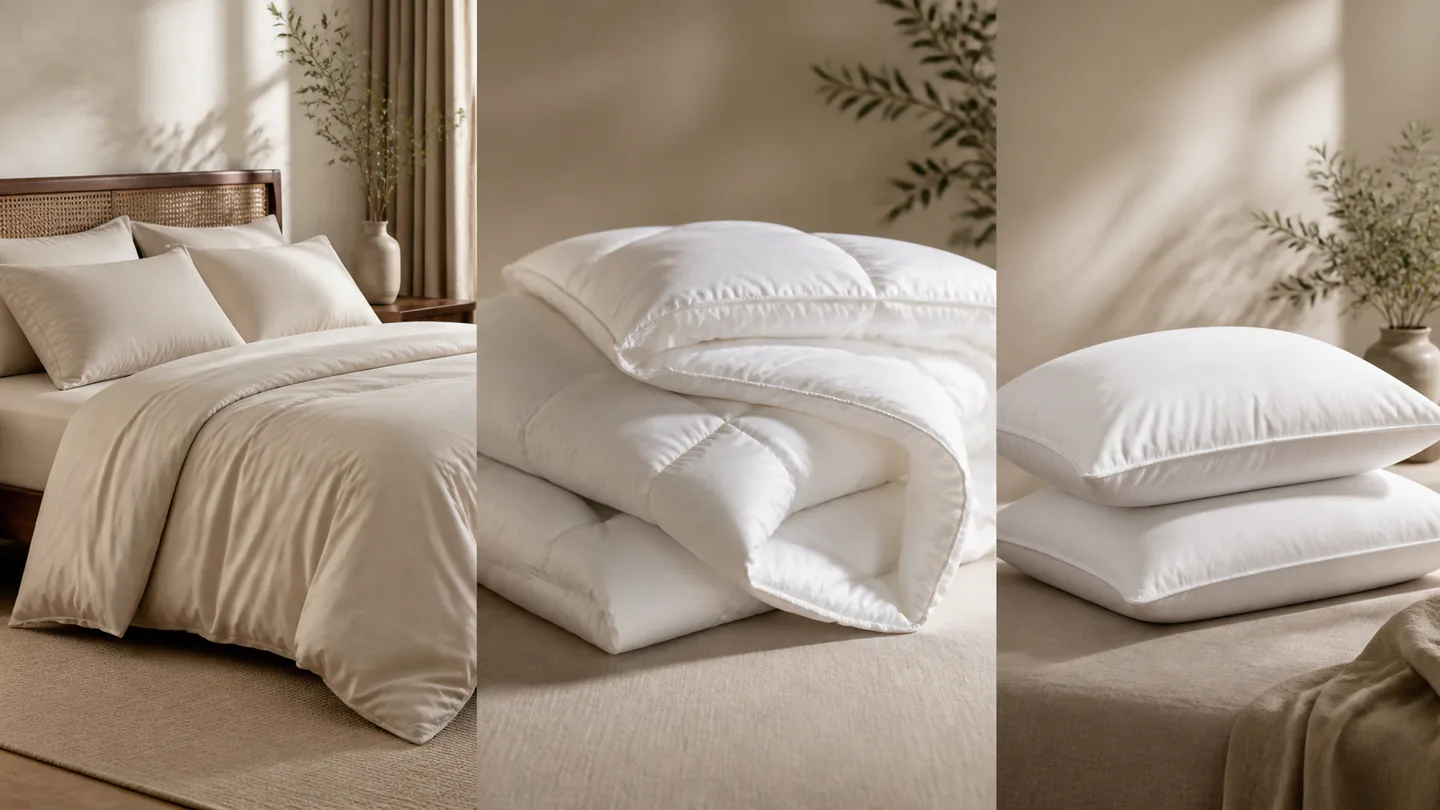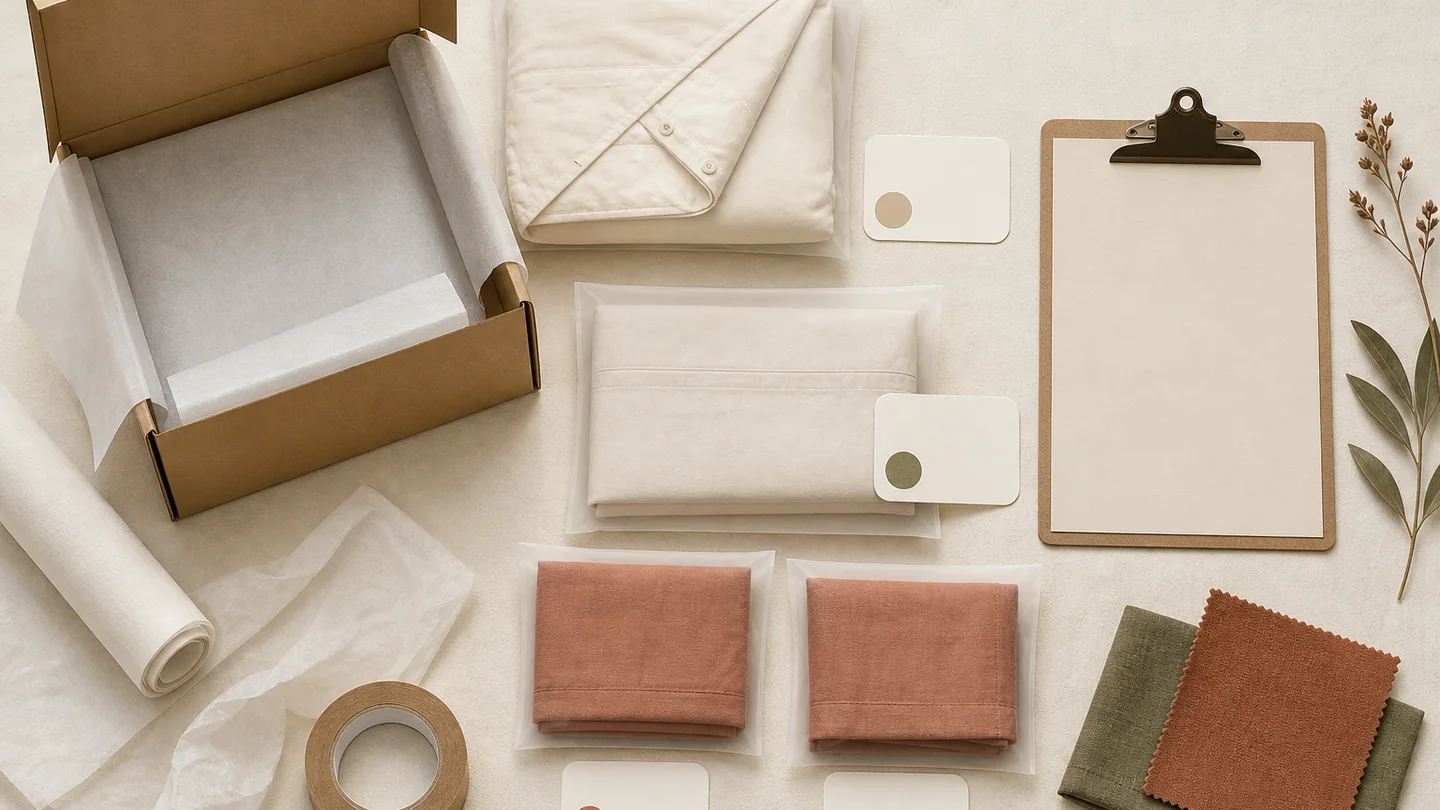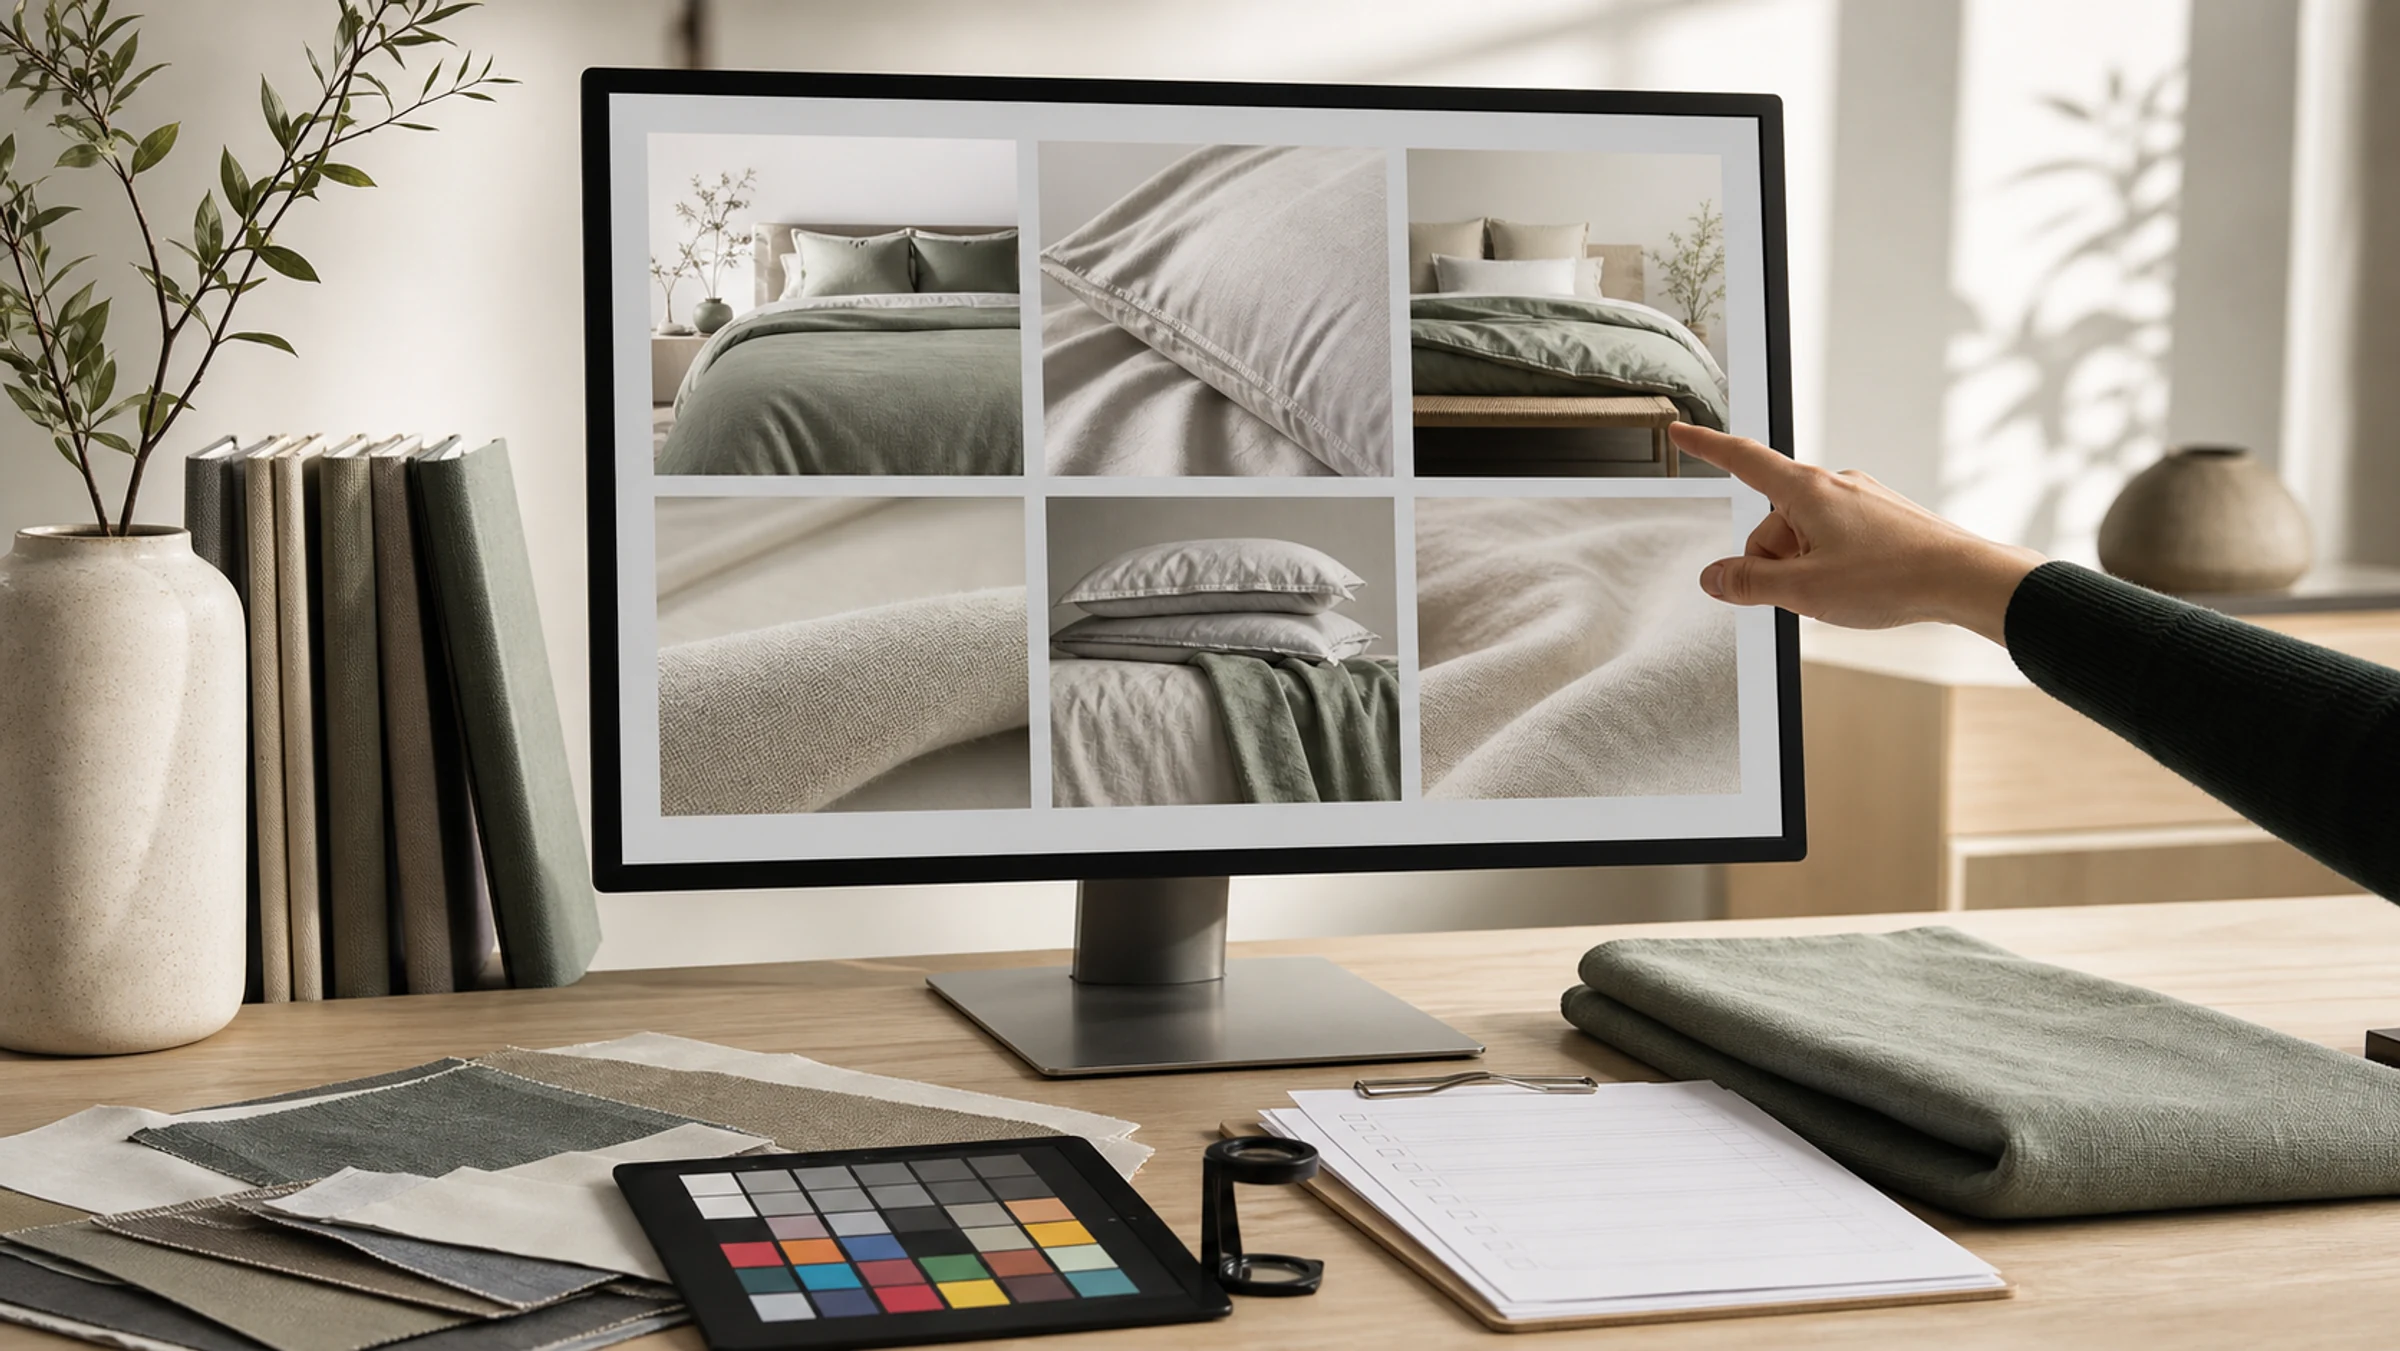

A pillow insert may look simple, but a front view alone rarely explains its depth, outline and edges. Separate product identification, natural state, profile, fabric and construction, then add a bed arrangement for context.
This guide concerns inserts sold as separate products. Finished shaped, memory-foam and decorative pillows use the finished-pillow guide; pillowcases are planned with bedding components.
Keep fill, fiber, dimensions and functional wording tied to approved product information. Similar-looking inserts can have different sale specifications and should not share details without checking.
Answer four basic product questions
What does one insert look like, what is its natural profile, which edge and surface details are visible, and how does it relate to bedding in use? Separate images make those questions easier to check than a single room scene.
Add views of real zones, binding, zippers, labels or other structures where relevant. Confirm that the feature exists and its name is correct before planning the close-up; do not infer internal filling or function from the exterior.
| Image task | What it explains | Confirm before shooting |
|---|---|---|
| Complete front | Shape, color and proportions of one insert | Style code, color and dimensions |
| Side profile | Natural height, depth and edge form | Natural condition and permitted preparation |
| Edges and fabric | Stitches, binding, texture and confirmed construction | Material and construction facts |
| Label or local detail | Actual label, zipper or zone position | Whether it should appear and whether the wording is current |
| Bed grouping | Pairs, groups or scale beside bedding | Scene purpose, bed type and styling direction |
Show the natural outline from the front and side
Keep all edges visible in the front view, without a quilt, pillowcase or person hiding the insert. Oblique and side views explain depth, edges and natural undulation. Preparation should restore an appropriate post-transport state rather than use hidden supports or excess filling to invent height.
A pale insert needs separation from the background while retaining a clean appearance and surface detail. Avoid highlights that erase stitching or texture, then check whether the outline still reads at phone-thumbnail size.
- Unobstructed complete edges
- Clear front-view proportions
- Natural profile height
- Pale subject separated from its background
- Surface volume not exaggerated
- Recognizable mobile thumbnail
Photograph each detail against its correct style code
Close-ups explain visible texture, seams, binding, corners, labels, zippers or confirmed zones. Identify the style and color for every detail so a collection page does not accidentally reuse one item’s construction for another.
The brand should confirm label material, dimensions, standards and care wording. Photography makes the tag readable; it does not validate its claims. Decide before capture whether a prototype or outdated label belongs in the published imagery.
Include compression or recovery only when it has a clear purpose
Compression and recovery are not default requirements. If the real product information and page need them, define the starting condition, action, sequence and final state, along with the wording. A single photograph usually cannot explain recovery speed or long-term support.
Do not accelerate a demonstration, exchange the sample invisibly or use retouching to alter its response. Neither a photographer nor an AI system should invent support, neck, sleep or antibacterial benefits from the appearance.
Connect sample preparation to file naming
Build the list around style, color, dimensions, construction and use. For compressed samples, confirm the permitted preparation and waiting conditions before capture. Record whether packaging is removed, labels are shown and pillowcases or bedding are used for context.
Useful filenames identify product category, style, color, angle, purpose and version. Distinguish front, profile, detail and scene assets; descriptive naming supports asset management but does not replace accurate alternative text and page copy.
- Style, color and dimensions
- Post-transport sample condition
- Front, profile, detail and grouping tasks
- Actual construction and label facts
- Listing, detail-page, content and catalog uses
- Naming and version rules
- Sample receipt, handling and returns
Sources and further reading
These sources provide context for the claims or channel requirements discussed here. Review current requirements alongside your product information and project agreement.
- MIIT: E-Commerce Law of the People’s Republic of China ↗Chinese official reference on accurate product information. Material, dimensions, construction and functional claims must match approved facts for the actual insert.